
On this page
- Understanding the AI Music Video Production Pipeline
- Stage One: Create or Prepare Your Music Track
- Stage Two: Storyboard and Write Your Shot List
- Stage Three: Generate Keyframe Stills First
- Stage Four: Animate Your Keyframes with an AI Music Video Generator
- Solving the Character Consistency Problem
- Stage Five: Edit and Assemble Your Music Video
- Stage Six: Export and Optimize for Every Platform
- The Real Budget Breakdown for AI Music Videos
- Common Mistakes That Waste Budget in AI Music Video Production
- Advanced Techniques: Lip-Sync and Performance Characters
- Monetization and Platform Strategy for AI Music Videos
- Essential Tools and Resources for AI Music Video Creation
- Future-Proofing Your AI Music Video Skills
- Conclusion: Your AI Music Video Action Plan
Creating a professional music video used to require thousands of dollars, a full crew, and weeks of production time. Today, AI music video generators have democratized the entire process, allowing musicians, producers, and creators to produce stunning visuals for under $100—often in just a weekend. This comprehensive guide will walk you through the complete pipeline, from preparing your song to exporting the final video for every platform.
The revolution in AI video production isn't just about affordability—it's about accessibility. You no longer need technical video editing skills or expensive software licenses. With the right workflow and strategic use of AI tools, independent artists can now compete visually with major label productions. The key is understanding the model-chaining approach: using specialized AI tools for each production layer rather than expecting one platform to handle everything.
According to recent production data shared by dev.to, creators are consistently producing complete AI music videos for approximately $85, including music generation, video rendering, upscaling, and editing. Meanwhile, aaronnorton.co.uk reports that the AI approach costs roughly £300 for a complete production—a fraction of the £3,000–£20,000 required for traditional UK shoots with real crews.
Understanding the AI Music Video Production Pipeline
The complete AI music video workflow consists of six distinct stages, each requiring specific tools and techniques. As outlined by cinemadrop.com, these stages are: song creation or preparation, storyboarding with prompt engineering, visual generation, character consistency and lip-sync, editing and assembly, and platform-specific export and optimization. Understanding this pipeline before starting prevents costly mistakes and wasted generation credits.
The most critical insight from experienced AI video producers is that video generation is where budgets explode if you're not strategic. Most AI music video generators charge per second of rendered output, and quality settings significantly impact costs. A three-minute video at 720p with one revision pass is where budgets get tight—not impossible, but requiring careful planning around retakes and regenerations.
The workflow that professionals use prioritizes pre-production planning over generation volume. According to aivideosensei.com, the optimal approach generates one still image per scene first, validates the visual direction, then converts approved stills to video. This method cuts revision costs dramatically compared to generating full video clips from text prompts alone, which often produce inconsistent results requiring expensive regeneration.
Stage One: Create or Prepare Your Music Track
Your music track is the foundation of everything that follows, so it needs to be completely finished before visual production begins. If you're generating the song with AI tools like Suno or Udio, budget approximately $8-10 for music generation with multiple attempts to get the right sound. Most AI music platforms offer unlimited generations within subscription tiers, making them cost-effective for this stage. The key is to generate a complete track with proper structure—intro, verses, chorus, bridge, and outro—not just a loop.
For creators bringing their own recorded tracks, ensure your song is fully mixed and mastered before starting the visual process. Changes to the audio after video production has begun can invalidate entire sequences of generated clips. Export your final track as a high-quality WAV file and create a marked-up version noting every significant beat, downbeat, and lyrical transition. These markers will become your cut points during editing, so accuracy here saves hours later.
The timing structure of your song directly determines your video generation budget. A standard three-minute song at a moderate cutting pace requires approximately 20-30 keyframe stills if you're cutting fast (one shot per 4-8 seconds), or 12-15 stills for longer holds. As noted by aivideosensei.com, this translates to roughly 240 short clips when accounting for coverage angles—though you'll cut down to only the keepers during editing.
Stage Two: Storyboard and Write Your Shot List
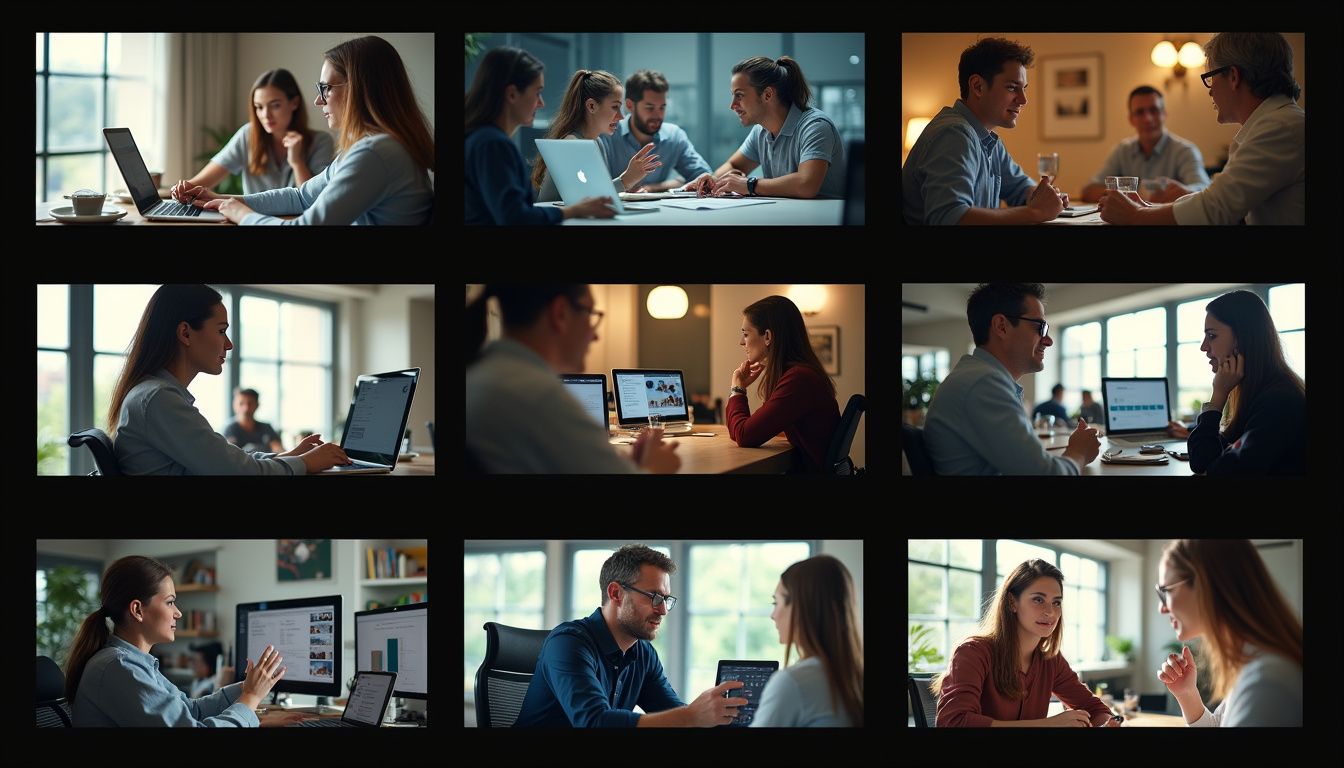
This stage is where most budget-conscious creators save or waste their money. A tight, detailed shot list written before touching any video tool is the single highest-leverage activity in the entire production. According to dev.to, experienced producers write 20-30 described scenes with specific details about lighting, color palette, camera movement, and mood before generating a single frame. This upfront investment in creative direction cuts revision costs more than any model upgrade or quality setting.
Use an AI language model like Claude or GPT-4 to develop your shot list—this typically costs around $0.10 via API or is included in existing subscriptions. The prompt structure matters enormously. Don't write vague requests like "make it cinematic." Instead, specify technical details: "Cooke S7/i lens, shallow depth of field, golden hour lighting, warm color grade, no waxy skin texture." The more precise your prompts, the fewer regenerations you'll need.
Create what professionals call a "wardrobe-and-setting bible"—a consistent reference document you'll paste into every generation prompt. This document should define your character's appearance, clothing, accessories, the primary setting, lighting conditions, and color palette. As emphasized by aaronnorton.co.uk, AI video tools have no memory between clips, so every generation starts from scratch. Without this consistency layer, your singer becomes a different person in different clothes on a different boat every single shot.
Stage Three: Generate Keyframe Stills First

Here's the strategy that separates amateur productions from professional results: generate and approve still images before animating anything. This is the stage people skip and regret, according to aivideosensei.com. Going straight from lyrics to video generation burns credits on clips that don't match visually, while the keyframe-first approach lets you validate artistic direction at a fraction of the cost.
Use whatever image generation model you have access to—Midjourney, Stable Diffusion XL locally via ComfyUI, or the image tool from your video platform. Generate one keyframe still for each major section or lyric beat in your song. For a three-minute track, this typically means 20-30 images. Keep a consistent visual seed, style prompt, or LUT across all stills so the final video doesn't feel like six different artists made it.
Tag each still with its target timestamp in the filename—this seemingly trivial step saves hours during editing. Name your files systematically: "01_intro_0-8sec.png," "02_verse1_8-20sec.png," and so on. Review all your stills together as a grid before proceeding to animation. This is your last cheap opportunity to catch inconsistencies in wardrobe, setting, or character appearance. Making changes now costs pennies; making them after video generation costs dollars.
Stage Four: Animate Your Keyframes with an AI Music Video Generator

Now comes the budget-critical stage: converting your approved stills into animated video clips. The most cost-effective AI music video generators for 2026 include Runway Gen-3, Kling, and Pika, with pricing typically around $0.60-0.80 per second of generated footage. For a three-minute song with 90 seconds of unique footage (accounting for repeated chorus visuals), expect to spend $55-70 on video generation.
The key technique for managing costs is working with short clips instead of long takes. Most tools cap clean generation at around five seconds before quality degrades or the motion drifts. This limitation actually works in your favor—music videos are built from short cuts anyway, typically around three seconds per shot. As noted by aaronnorton.co.uk, you're working in beats and angles, not continuous minutes. The timing comes together in the edit, not in individual clip length.
Use the image-to-video feature rather than text-to-video generation. Upload your keyframe still and add motion prompts: "slow dolly forward," "camera orbits right," "subtle parallax movement." This approach maintains visual consistency far better than text-only generation. Reserve your upscaler budget ($10-12) for hero shots only—the close-ups or climactic moments that anchor your video. Not every frame needs 4K upscaling; strategic use of enhancement on key shots delivers the visual impact without breaking the budget.
Solving the Character Consistency Problem

The hardest technical challenge in AI music videos isn't generation quality—it's keeping your character's face, hair, and outfit consistent across shots. If you're seeing different people appear shot-to-shot, you're almost certainly relying on prompt text alone, which cannot hold a likeness across generations. This problem has three proven solutions, listed in order of impact.
First, train a character model—essentially a face model that your AI music video generator reuses across all generations. Most platforms now offer this feature, sometimes called "consistent character," "style reference," or "LoRA training." Upload 10-20 images of your subject's face from different angles, and the system creates a reusable reference. This investment (usually one-time, around $5-15 depending on platform) pays dividends across every subsequent clip.
Second, use the anchor-frame method: take the final frame of your previous clip and use it as the starting point for your next generation. Re-frame that end image to your new camera angle, then generate motion from it. This technique carries wardrobe, setting, and lighting forward between shots. According to aaronnorton.co.uk, this is the real fix for consistency—regenerating the same prompt and hoping is the slow, expensive road.
Third, keep clips short. A five-second clip holds consistency far better than a 15-second generation. Since you're cutting to music beats anyway, shorter clips align perfectly with the editing rhythm you need. Build your video from many consistent short clips rather than fighting for long takes that drift halfway through.
Stage Five: Edit and Assemble Your Music Video
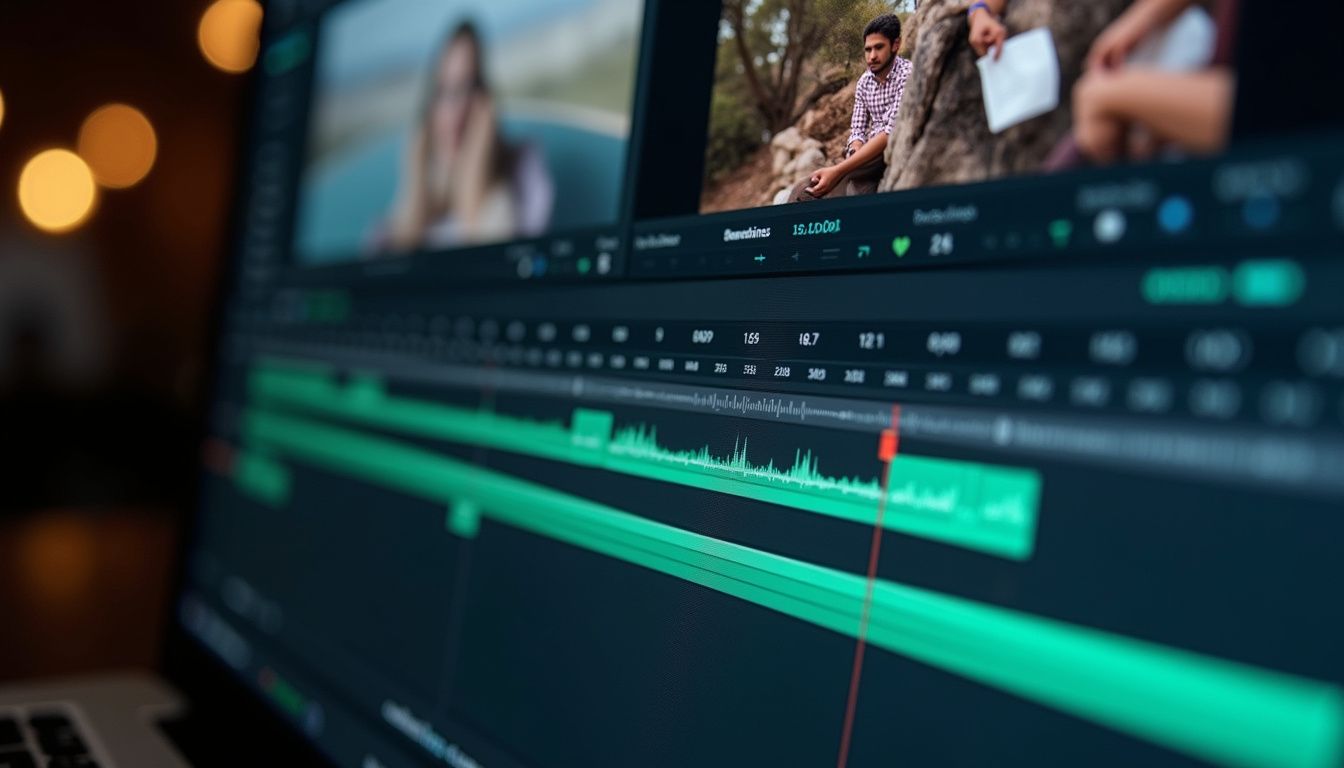
Bring your song, waveform, and every rendered clip into a standard non-linear editor—Premiere Pro, DaVinci Resolve, or even CapCut work perfectly. This stage doesn't require AI tools at all; it's traditional video editing applied to AI-generated assets. The workflow that professionals use, as detailed by aivideosensei.com, starts with marking every beat and downbeat on the timeline before dropping any clips.
Cut hard on the chorus to create energy, hold longer on verses to let moments breathe. Fast cuts everywhere reads as visual noise rather than intentional rhythm. Use the waveform as your guide—significant transients in the audio signal natural cut points. Crossfade or match-cut between clips that share similar composition; remember those consistent visual seeds from your still generation? They make these transitions nearly seamless.
Add polish layers that elevate the production: color grade for consistency (a simple LUT applied across all clips unifies mismatched generations), add subtle AI sound design using AI sound effects tools for risers, foley hits, and transition whooshes, and layer text or lyric overlays during key moments. According to cinemadrop.com, these finishing touches are the most underused polish steps in AI music videos, yet they require minimal budget and transform the perceived production value.
Stage Six: Export and Optimize for Every Platform
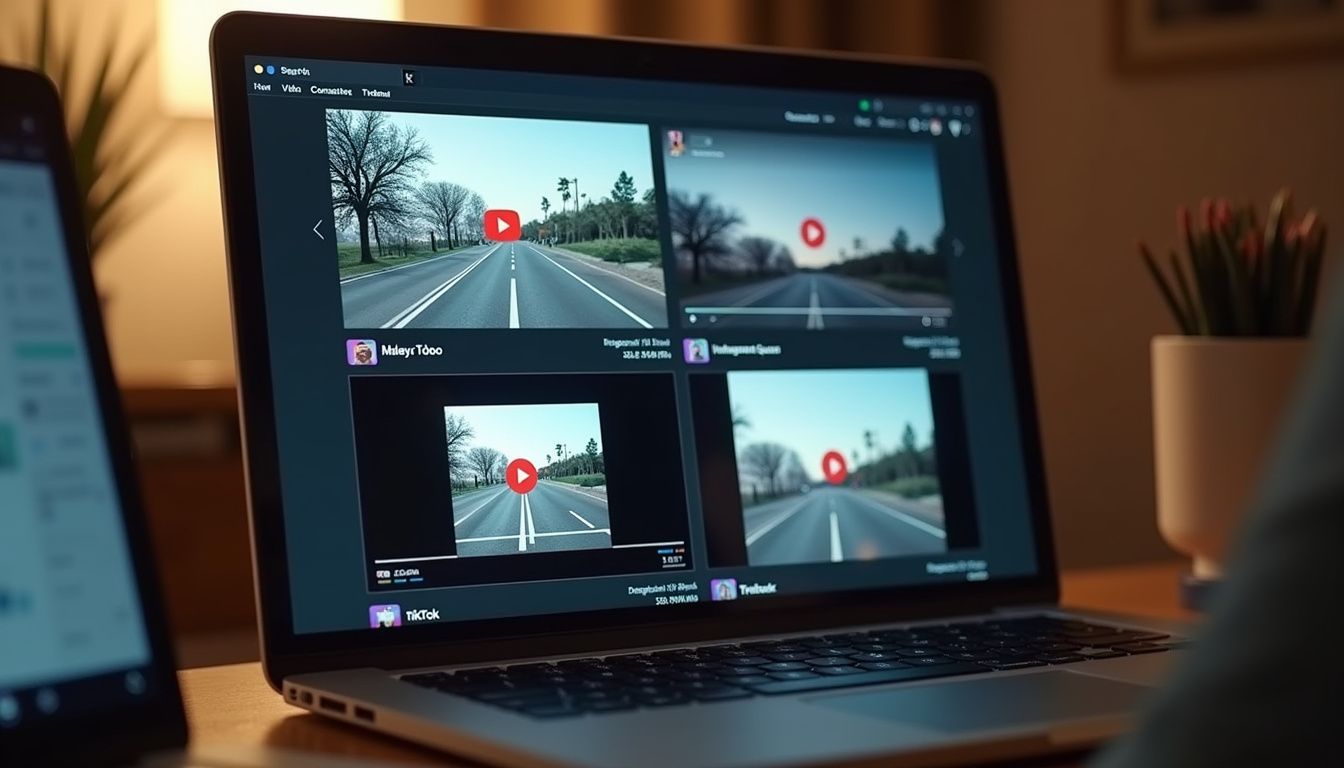
Your AI music video needs different versions for different platforms, each with specific technical requirements. YouTube wants 1920x1080 or 3840x2160 landscape at 24-30fps. Instagram Reels and TikTok need 1080x1920 vertical at 30fps. Spotify Canvas requires 1080x1920 vertical but only 3-8 seconds looping. Don't create one master and force it everywhere—platform-specific optimization dramatically improves performance.
For YouTube, export at the highest quality your editing software allows, typically H.264 codec with high bitrate (15-20 Mbps for 1080p). Include end screens, cards pointing to your music platforms, and burned-in captions for accessibility. YouTube's algorithm favors watch time, so nail your opening three seconds—consider generating a specific hero shot just for this purpose.
For vertical platforms (TikTok, Instagram Reels, YouTube Shorts), you'll likely need to regenerate some clips specifically for 9:16 aspect ratio rather than cropping landscape footage. The good news: vertical clips are shorter (15-60 seconds typically), so generation costs are minimal. Export at 30fps minimum for these platforms, and include captions—most users watch without sound initially. Add trending audio or effects if appropriate for the platform's culture, but ensure your core music video lives on YouTube as the canonical version.
The Real Budget Breakdown for AI Music Videos
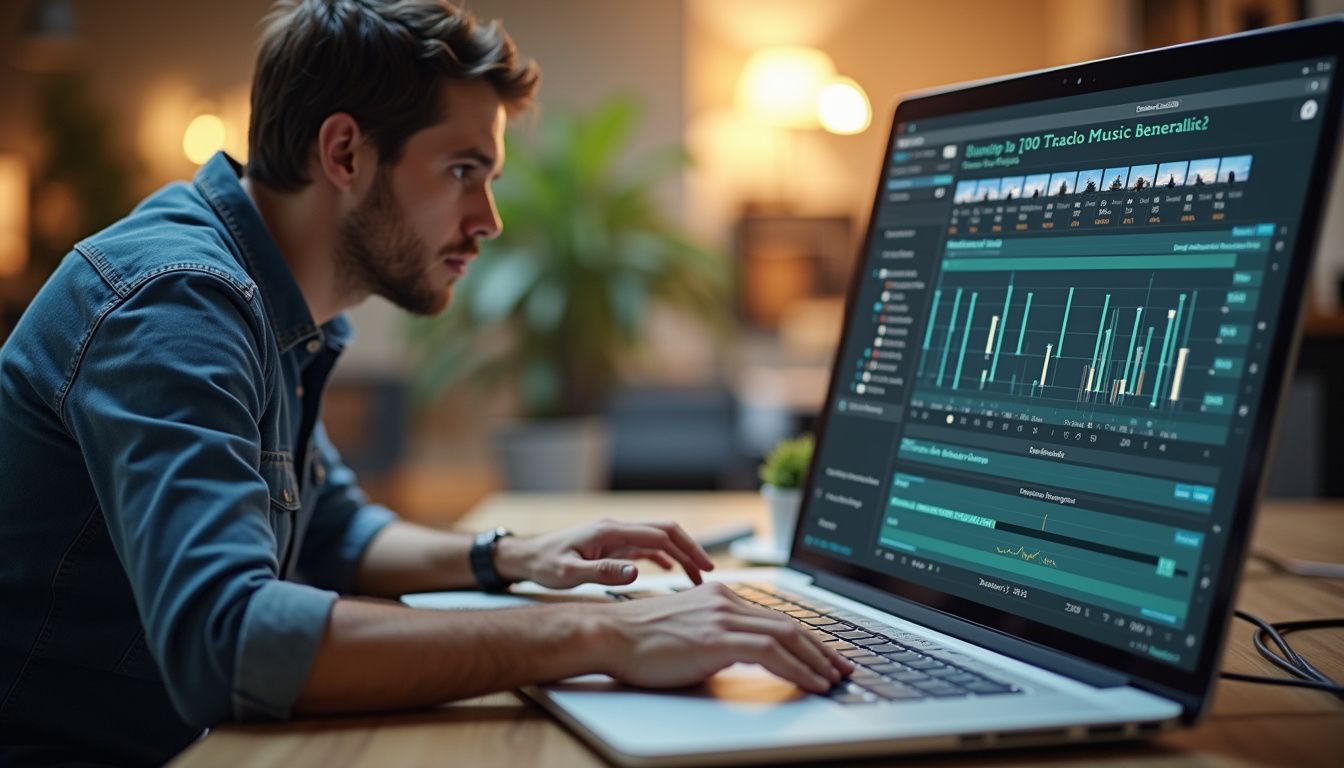
Let's detail the actual costs you'll encounter producing a complete AI music video in 2026. According to production data from dev.to, a realistic budget for a three-minute video breaks down as follows: Lyrics and concept development using Claude or GPT via API costs approximately $0.10. Music generation through Suno with 10 attempts runs about $8. Image and video frame generation using Runway Gen-3 for 90 seconds of footage costs around $55. Upscaling and cleanup with Topaz or similar tools adds $12. Stock sound effects and minor assets total $10. This brings the complete production cost to approximately $85.
The biggest variable in this budget is video generation, which scales directly with output seconds and quality settings. You can reduce this cost through several strategies: generate at 720p instead of 1080p initially (upscale only hero shots later), use 4-second clips instead of 8-second (cuts your generation costs in half for the same cut rhythm), approve stills before animating to minimize regeneration waste, and reserve premium quality tiers for final delivery, not testing iterations.
One critical money-saving tip from aaronnorton.co.uk: drive AI tools through their web browser interface like a human rather than through APIs. The same generations included in a web-UI "unlimited" subscription window often get charged per clip when accessed through APIs or command lines. This single oversight can multiply your costs by 10x. Most creators find that a mid-tier subscription to one comprehensive platform beats mixing multiple pay-per-use services.
Common Mistakes That Waste Budget in AI Music Video Production

The most expensive mistake in AI music video production is skipping pre-production planning. Creators who jump directly from lyrics to video generation typically burn 2-3x their budget on regenerations, fixing consistency issues, and rebuilding sequences that don't match. According to experienced producers on aaronnorton.co.uk, pre-production is the biggest time-block, and skipping it is the most expensive mistake you can make.
The second critical error is expecting one AI tool to handle everything. The model-chaining approach—using specialized tools for each production layer—consistently outperforms all-in-one platforms for quality at this price point. Use a language model for concept and shot list, an image generator for keyframes, a video generator for animation, a traditional editor for assembly, and an upscaler for finishing. Each tool excels at its specific task; forcing one platform to do everything compromises results.
Other budget-killing mistakes include: generating long clips instead of short ones (fighting the tools' limitations rather than working with them), upscaling every frame instead of hero shots only (quadrupling finishing costs for minimal perceived quality gain), ignoring the wardrobe-and-setting bible (causing character drift that requires expensive regeneration), and revising clips individually rather than in approved batches (breaking visual consistency across sequences). Each of these mistakes is easily avoided with proper workflow understanding.
Advanced Techniques: Lip-Sync and Performance Characters
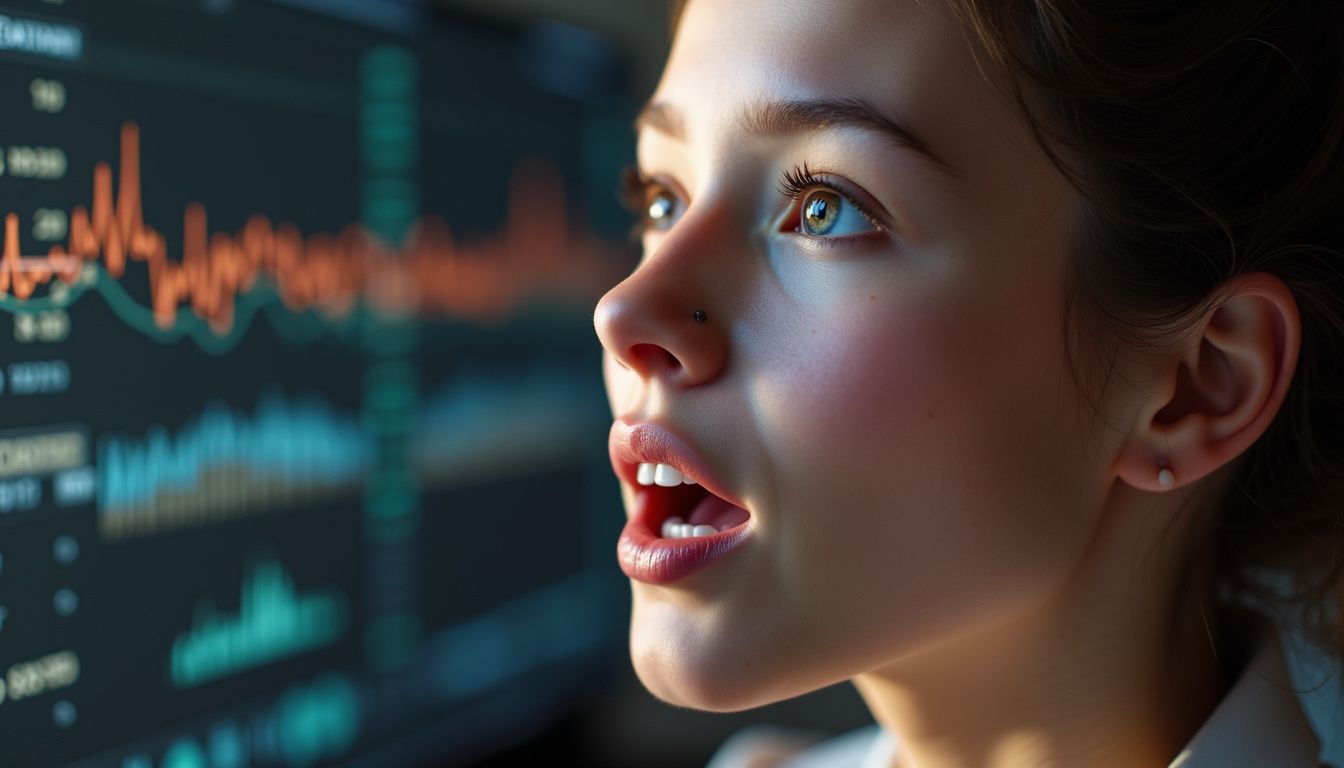
If your AI music video features a singing character rather than abstract visuals, you'll need lip-sync technology to match mouth movements to your vocal track. Several AI platforms now offer this capability, including Runway's lip-sync feature, D-ID's speaking portrait technology, and Synthesia's avatar animation. Budget an additional $10-20 for lip-sync processing across a full song.
The workflow for lip-synced characters requires an extra step in your pipeline: after generating your character keyframes but before animating them, process each frame through a lip-sync tool with the corresponding audio segment. Export these pre-synced clips, then animate them with motion prompts. This two-pass approach ensures both accurate lip-sync and dynamic camera movement—trying to do both simultaneously in one generation rarely produces satisfactory results.
Character consistency becomes even more critical with performance videos. Any drift in facial features between shots breaks the illusion of a real performer. Use the character model training described earlier, but also maintain a dedicated reference image library—front view, profile, three-quarter view—that you can feed into generations needing specific angles. Professional AI music video producers maintain 20-30 reference angles of their primary character to ensure any shot angle can be generated consistently.
Monetization and Platform Strategy for AI Music Videos

Your AI music video represents both a promotional asset and a potential revenue stream. On YouTube, properly formatted music videos can generate ad revenue—ensure you've claimed your content through YouTube's Content ID system or a distributor like DistroKid or TuneCore. The key to YouTube monetization is watch time and retention; your opening shot matters more than any other single frame.
Vertical video versions for TikTok and Instagram Reels drive discovery and streaming conversions even if they don't generate direct revenue. According to recent platform data, a strong short-form video can generate 10-50x more streams than the cost of producing the AI video. Focus these vertical edits on the hookiest 15-30 seconds of your song—usually the chorus—and include clear calls-to-action directing viewers to streaming platforms.
Disclosure is becoming increasingly important as platforms implement AI content policies. YouTube now requires creators to disclose AI-generated content in videos. Be transparent in your description: "This music video was created using AI generation tools including [list your tools]." Transparency builds trust with your audience and ensures compliance with evolving platform policies. Many viewers are actually impressed by creative AI use when properly disclosed—it's deception they react against.
Essential Tools and Resources for AI Music Video Creation

Building your AI music video toolkit requires selecting the right combination of platforms for each production stage. For music generation, Suno and Udio lead the field in 2026, with Udio offering slightly better control over structure and Suno excelling at diverse genre generation. Both offer subscription tiers in the $10-15/month range that include unlimited generations, making them cost-effective for this stage.
For video generation, the current leaders are Runway Gen-3 (best for cinematic quality and camera control), Kling (excellent for character consistency and motion), and Pika (fastest generation with good stylistic range). Most professionals maintain subscriptions to at least two platforms to leverage different strengths—Runway for hero shots, Kling for character work. Expect to spend $30-50/month on video generation subscriptions for regular production work.
For editing and finishing, free options perform excellently. DaVinci Resolve's free version includes professional color grading and editing tools that rival expensive alternatives. CapCut offers intuitive mobile and desktop editing with built-in effects. For upscaling, Topaz Video AI ($199 one-time purchase) leads the field, but monthly services like TensorPix ($20/month) work well for occasional use. Remember: the editing tools don't need to be AI-powered—traditional video editing works perfectly with AI-generated assets.
Future-Proofing Your AI Music Video Skills
The AI music video landscape evolves rapidly, with new tools and capabilities emerging monthly. The core skills that remain valuable regardless of specific platform changes are: prompt engineering (understanding how to communicate visual concepts precisely to AI systems), consistency management (maintaining character and setting continuity across generations), and editorial judgment (knowing which AI-generated options to keep and which to regenerate).
Stay current by following AI video communities on Discord and Reddit, where creators share workflows and discoveries in real-time. The r/AIVideo and r/StableDiffusion subreddits offer valuable discussions of techniques. YouTube channels focused on AI video production provide regular tool comparisons and tutorial updates. Set aside time monthly to experiment with new tools—the $50-100 you might spend testing could reveal workflow improvements that save thousands across future projects.
The trajectory of AI music video tools points toward longer coherent generations, better character consistency, and more intuitive control interfaces. Within 12-18 months, many current workflow bottlenecks will likely be automated. However, the fundamental skills—visual storytelling, beat-cutting, color theory, and artistic direction—remain human domains. Learn these principles alongside the technical tools, and you'll adapt successfully regardless of which specific AI platforms dominate future markets.
Conclusion: Your AI Music Video Action Plan
Creating a professional AI music video for under $100 is not only possible in 2026—it's becoming the standard approach for independent artists and small labels. The key to success lies in understanding the complete pipeline, planning thoroughly before generating anything, and using the model-chaining approach to leverage specialized tools for each production layer.
Start your first project with modest expectations: aim for a 60-90 second video rather than a full three-minute production. This shorter format lets you test the workflow, understand each tool's strengths, and identify where you personally need more skill development—all while keeping costs under $50. Once you've completed one successful short video, scaling to full-length productions becomes straightforward.
The resources and techniques outlined in this guide represent current best practices from creators already producing AI music videos professionally. As emphasized by sources including thesource.com, we've reached the point where musicians, producers, and hobbyists can create stunning, professional-grade visuals requiring absolutely zero technical video editing skills—provided they follow a systematic workflow. Your next music release doesn't need to be audio-only. With a weekend of focused work and less than $100, you can deliver a complete audiovisual experience that competes with anything in your genre.