
On this page
- Understanding MOV and MP4: Why They're Almost the Same
- Method 1: Lossless Conversion with FFmpeg (Fastest, No Quality Loss)
- When Copy Works vs. When You Must Re-encode
- Method 2: Re-encoding for Professional Codecs (ProRes, PCM)
- Method 3: Simple File Extension Change on Mac (H.264 Only)
- Method 4: iMovie for Mac (Free, User-Friendly)
- Method 5: Free Online Converters (No Installation Required)
- Optimizing Your MP4 Files for Web and Mobile
- Compression Tips: Reducing File Size While Maintaining Quality
- Troubleshooting Common Conversion Issues
- Which Method Should You Choose?
- Final Thoughts: Achieving Perfect Quality Conversion
Converting MOV files to MP4 is one of the most common video conversion tasks, especially if you're working with Apple-recorded videos that need to play on non-Apple devices. The good news? You can convert MOV to MP4 without losing any quality, and you can do it completely free. This guide will show you multiple methods, from simple drag-and-drop tools to professional command-line solutions.
Understanding MOV and MP4: Why They're Almost the Same

Before diving into conversion methods, it's important to understand that MOV and MP4 are nearly identical formats. Both are container formats that wrap video, audio, and metadata streams. They share the same underlying structure (atoms/boxes from the ISO base media file format), with the main difference being the file extension and a few QuickTime-specific features.
This similarity is actually great news for you: in many cases, converting MOV to MP4 is simply a matter of changing the container without re-encoding the video itself. This means zero quality loss and lightning-fast conversion speeds. The key is knowing when you can use this "copy" method versus when you need to re-encode.
When your MOV file contains H.264 (AVC) or HEVC (H.265) video with AAC audio—which covers most modern recordings from iPhones, Macs, and screen recorders—you can perform a lossless conversion in seconds. However, if your MOV contains professional codecs like ProRes or uncompressed audio like PCM, you'll need to re-encode, which we'll cover in detail below.
Method 1: Lossless Conversion with FFmpeg (Fastest, No Quality Loss)

FFmpeg is a free, powerful command-line tool that gives you complete control over video conversion. While it might seem intimidating at first, the basic command for lossless MOV to MP4 conversion is incredibly simple. According to the FFmpeg Cookbook, if your MOV holds H.264/HEVC video and AAC audio, you can convert it with this single command:
ffmpeg -i input.mov -c copy -movflags +faststart output.mp4
Let's break down what this command does: The -c copy flag tells FFmpeg to copy every stream as-is without re-encoding, which finishes in seconds with zero quality loss. The -movflags +faststart option moves the moov atom (file index) to the beginning of the file, enabling the video to start playing before it finishes downloading—essential for web playback.
To install FFmpeg on Mac, use Homebrew: brew install ffmpeg. On Windows, download it from the official website. Once installed, navigate to your video's folder in Terminal or Command Prompt and run the command above, replacing "input.mov" with your file's name.
When Copy Works vs. When You Must Re-encode
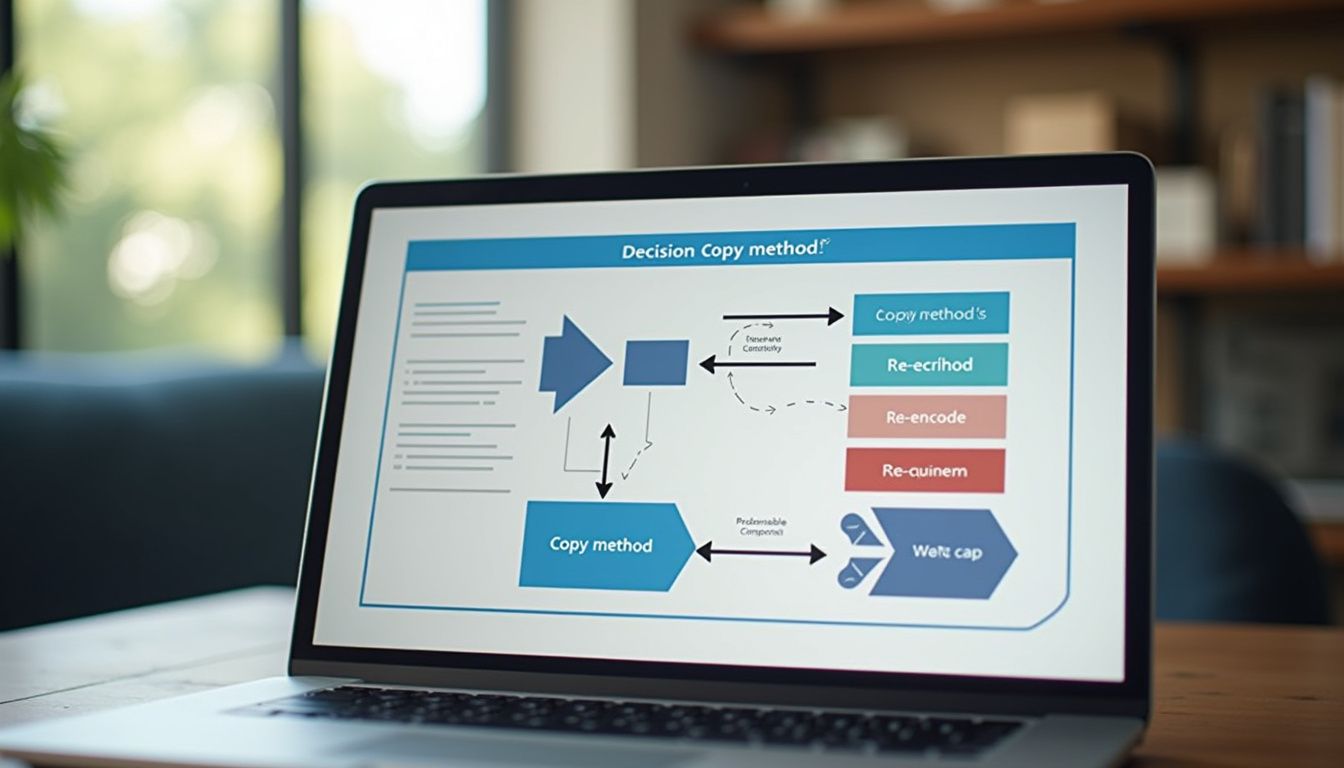
Stream copy only succeeds when each stream's codec is compatible with MP4 containers. Here's a quick reference table to help you decide:
Video Codecs:
- H.264 (AVC) - Use
-c copy✓ - HEVC (H.265) - Use
-c:v copy -tag:v hvc1✓ - ProRes - Must re-encode to H.264/HEVC ✗
Audio Codecs:
- AAC - Use
-c copy✓ - ALAC (Apple Lossless) - Can copy, but re-encode to AAC recommended for compatibility ⚠
- PCM (uncompressed) - Must re-encode to AAC ✗
Before converting, check your file's codecs with this FFmpeg command: ffprobe -v error -show_entries stream=index,codec_type,codec_name -of default=noprint_wrappers=1 input.mov. This lists each stream's type and codec name. If you see "h264" or "hevc" for video and "aac" for audio, you're good to use the copy method.
If FFmpeg refuses to copy a stream and displays an error like "Could not find tag for codec", that's your signal to re-encode that stream using the method below.
Method 2: Re-encoding for Professional Codecs (ProRes, PCM)
When your MOV file contains codecs that aren't MP4-friendly—like ProRes video (common in professional video editing) or PCM audio (found in pro recordings and screen captures)—you'll need to re-encode. The standard re-encoding command converts to H.264 video and AAC audio, the most widely supported MP4 codecs:
ffmpeg -i input.mov -c:v libx264 -crf 20 -c:a aac -movflags +faststart output.mp4
The -crf 20 parameter controls quality—lower numbers mean higher quality and larger files. A CRF value between 18-23 produces visually clean output for most purposes. Use 18 for near-perfect quality, 23 for smaller files with minimal visible difference, and 20 as a balanced middle ground.
If only your audio codec is incompatible (for example, ProRes-free MOV with PCM audio), you can save significant time by copying the video and only re-encoding the audio: ffmpeg -i input.mov -c:v copy -c:a aac -b:a 192k -movflags +faststart output.mp4. This hybrid approach is much faster than a full re-encode while maintaining video quality.
Method 3: Simple File Extension Change on Mac (H.264 Only)
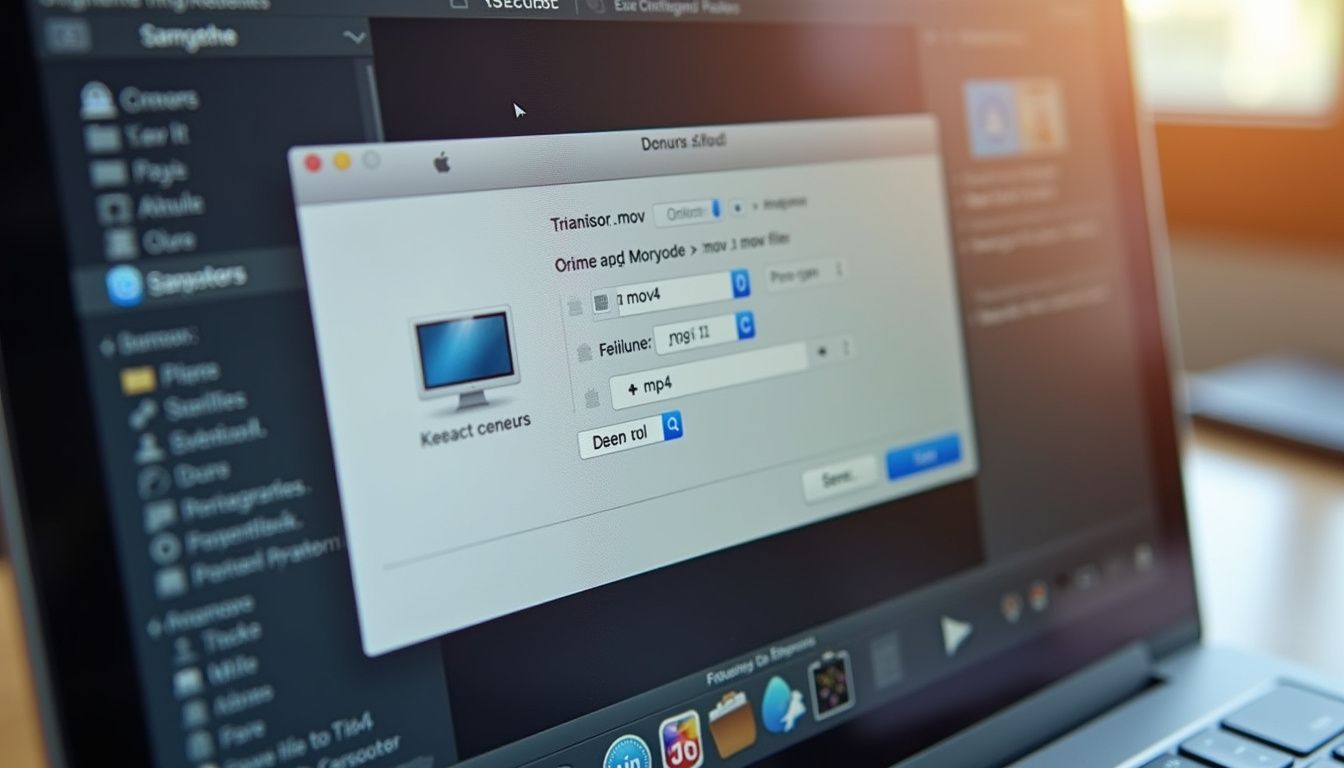
For Mac users with simple H.264 MOV files, Apple provides a remarkably simple method: just change the file extension. Here's how:
First, verify your MOV file uses H.264: Right-click the file, select "Get Info," and check the "More Info" section for "Codecs." If it shows H.264, you can proceed. If you see anything else (like ProRes), use FFmpeg or iMovie instead.
To keep your original file, Control-click it and choose "Duplicate" to make a copy. Then Control-click the file, choose "Rename," select the ".mov" extension, type "mp4" instead, and press Return. When the dialog appears, choose "Use .mp4" to confirm.
This method is instant because you're not actually converting anything—you're just relabeling the container. The video quality, resolution, and file size remain identical. However, if the video won't upload to certain websites or apps after changing the extension, you'll need to use iMovie or FFmpeg to properly convert it.
Method 4: iMovie for Mac (Free, User-Friendly)
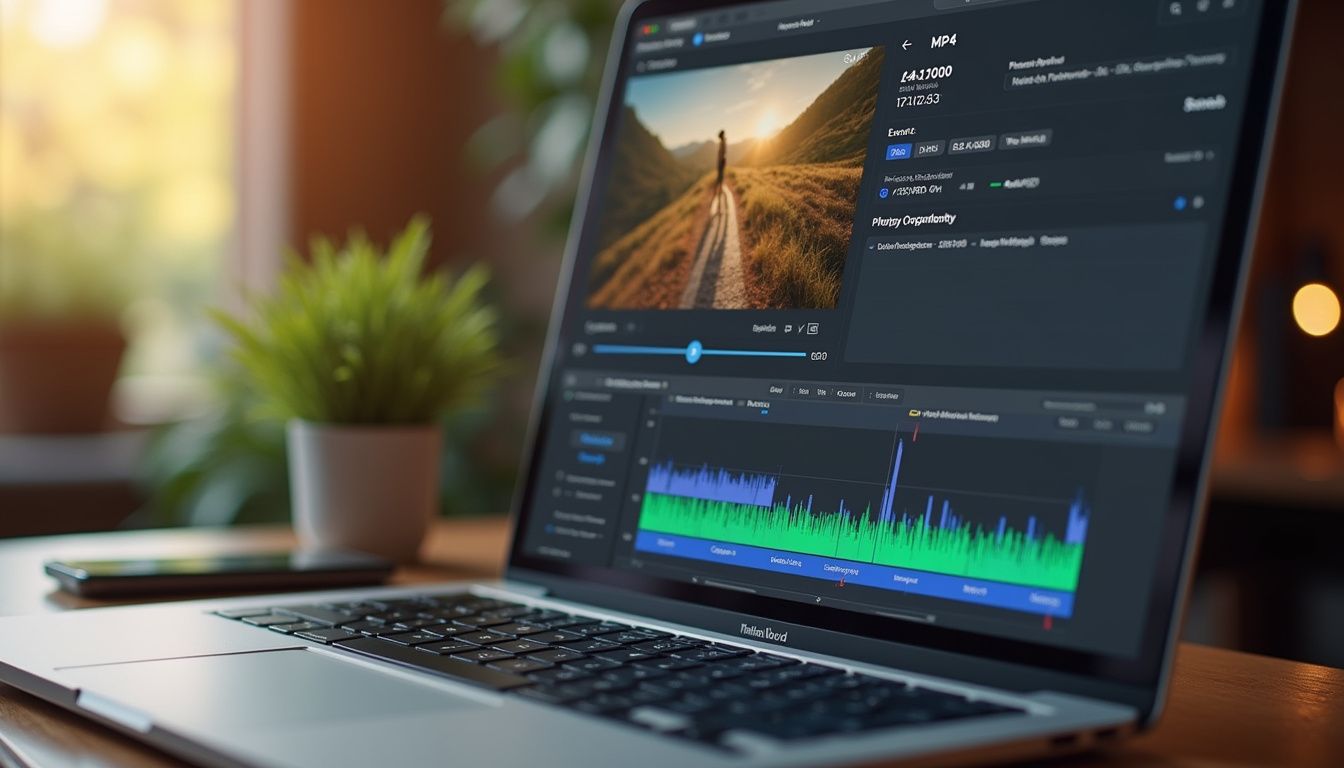
iMovie, which comes free on all Macs, provides a simple graphical interface for converting MOV to MP4. Here's the complete process:
Open iMovie and click "Create New" in Projects view, then choose "Movie." Click the Import button at the top of the window, locate your MOV file, select it, and click "Import Selected." The file appears in the browser—select it and press the E key (or choose Edit > Add to Movie) to add it to your timeline.
Click the Share button (the square with an arrow pointing up), then choose "Export File." To reduce file size, click the Quality pop-up menu and choose Medium or Low. You can also change the resolution to a lower setting—the estimated file size appears below the thumbnail preview, helping you balance quality and size.
Click Next, choose a save location, and click Save. iMovie automatically converts your MOV to MP4 format. While this method is slower than FFmpeg's copy command, it's perfect for users who prefer a visual interface and want to adjust resolution or quality settings without touching the command line.
Method 5: Free Online Converters (No Installation Required)
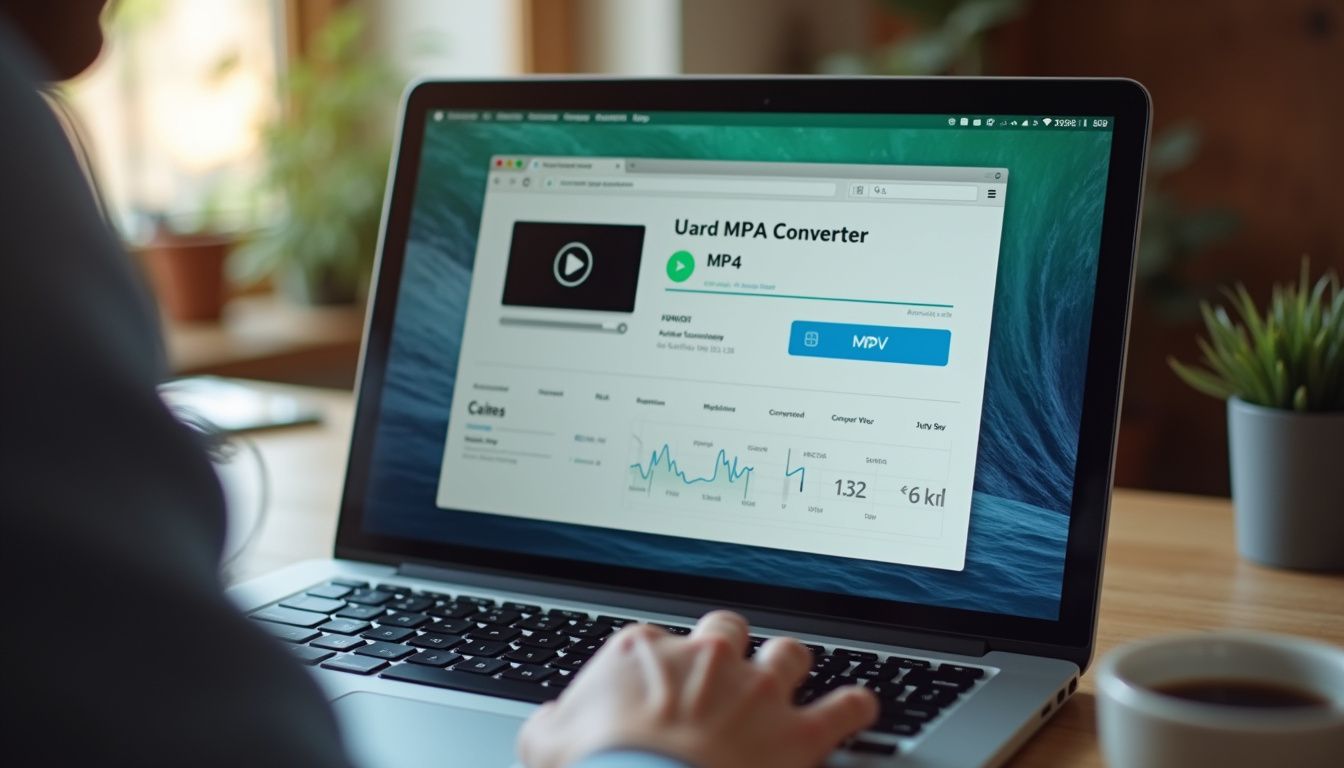
If you don't want to install software, online converters offer a quick solution. Adobe Express provides a free MOV to MP4 converter that handles videos up to 1 hour long. Simply drag and drop your video file or browse to upload, and it automatically converts to MP4.
The advantages of online converters include zero installation, cross-platform compatibility (works on any device with a browser), and user-friendly interfaces with additional editing features like trimming and audio muting. Adobe Express even lets you convert multiple files in succession without complex software.
However, online converters have important limitations: you must upload your video (which can be slow for large files), there are privacy considerations when uploading sensitive content, file size limits typically cap videos at 1-2 hours, and you need a stable internet connection. For frequent conversions or large files, a local tool like FFmpeg or iMovie is more practical.
Other reputable online converters include CloudConvert, FreeConvert, and Convertio. Always use established services with clear privacy policies, and avoid uploading confidential or personal videos to any online platform.
Optimizing Your MP4 Files for Web and Mobile

The -movflags +faststart option deserves special attention because it dramatically improves playback experience for web videos. By default, FFmpeg writes the moov atom (the index telling players where each frame lives) at the end of the file. This works fine for local playback but causes delays for streaming.
Without faststart, a web player must download most or all of the file before playback begins, or make multiple HTTP range requests to locate the moov atom. With faststart enabled, FFmpeg performs a second pass after encoding to move the moov atom to the beginning, allowing playback to start during progressive download.
Always include -movflags +faststart for any video destined for websites, social media, or streaming platforms. The tiny processing overhead is worth the dramatically improved user experience. For videos that will only play locally on your device, you can skip this option to save processing time.
Compression Tips: Reducing File Size While Maintaining Quality
When re-encoding is necessary, you can significantly reduce file size with minimal quality impact using the right FFmpeg settings. The CRF (Constant Rate Factor) setting is your primary control: ffmpeg -i input.mov -vcodec libx264 -crf 28 -preset medium -acodec aac -b:a 128k output.mp4
Here's how different CRF values affect output: CRF 18 produces near-lossless quality (very large files), CRF 23 offers visually lossless quality for most content (balanced), CRF 28 creates good quality with significant compression (smaller files), and CRF 32+ shows visible quality loss (use only when size is critical).
The -preset option balances encoding speed versus compression efficiency. Options range from "ultrafast" (fastest encoding, largest files) to "veryslow" (slowest encoding, smallest files with best quality). The "medium" preset offers an excellent balance for most users.
For audio, -b:a 128k sets the bitrate to 128 kbps, which is sufficient for most content. Use 192k or 256k for music videos or audio-critical content. Remember: the goal is finding the sweet spot where file size meets your needs without visible quality degradation.
Troubleshooting Common Conversion Issues

"File won't convert" errors usually mean codec incompatibility. Run ffprobe input.mov to check codecs, then use the appropriate re-encoding command. If FFmpeg says "codec not found," you may need to install FFmpeg with additional codec support.
"Converted file won't play" problems often stem from missing the -tag:v hvc1 flag for HEVC video or incompatible player software. Update your media player (VLC plays virtually everything) or re-convert with H.264 instead of HEVC for maximum compatibility.
"Audio out of sync" issues can occur when frame rates don't match. Add -vsync 1 to your FFmpeg command to fix synchronization. "Video too large" problems are solved by increasing CRF value (higher = smaller file) or reducing resolution with -vf scale=-1:720 for 720p output.
If conversion is extremely slow, check your preset setting—"veryslow" can take hours for long videos. Use "fast" or "medium" for reasonable speed. For batch conversions, create a simple script to process multiple files automatically rather than converting one at a time.
Which Method Should You Choose?

The best conversion method depends on your specific situation. Use the simple extension change method when you're on Mac, your MOV is H.264-encoded, and you need instant results with zero quality loss. Choose FFmpeg when you need maximum control, batch processing, or the fastest lossless conversion with -c copy.
iMovie is ideal when you're on Mac, prefer a graphical interface, want to adjust quality/resolution visually, or need basic editing during conversion. Online converters work best for occasional one-off conversions, when you can't install software, or when working from a mobile device or Chromebook.
For professional workflows with ProRes or other high-end codecs, FFmpeg provides the most flexibility, though Final Cut Pro or Compressor offer more control if you already use Apple's professional tools. Most users will find FFmpeg or iMovie sufficient for their needs.
Final Thoughts: Achieving Perfect Quality Conversion
Converting MOV to MP4 without losing quality is entirely achievable with the right approach. For files already encoded with MP4-compatible codecs (H.264/AAC), use the copy method—it's instantaneous and literally preserves every bit of your original video. When re-encoding is necessary, a CRF of 18-20 produces visually identical results to the source for most viewers.
Remember that "lossless" means different things in different contexts: copying streams is truly lossless (bit-for-bit identical), while re-encoding with high quality settings (CRF 18-20) produces visually lossless results even though it's technically a new compression. For 99% of use cases, visually lossless is indistinguishable from the original.
Always keep your original MOV files until you've verified the MP4 conversion meets your needs. Test the converted file on your target platform (website, social media, mobile device) before deleting the source. With these tools and techniques, you'll be able to convert any MOV file to MP4 format efficiently while maintaining the quality that matters to your viewers.